Image Basics for Bloggers
Attract their attention
When it comes to blogging, we all know that it takes great content to attract attention. Part of this is the written content, but just as important part are the visuals you find to support your words. Yes, the secret is in the pictures. Adding just 2 images can increase the time someone stays on your blog by up to 300%. This happens because a person’s eyes are drawn to the photo and they study it. If the photo is good enough to attract their attention, then they are more likely to read the content.
Keep it simple for the web
The two nicest things about using photos on the web is 1) aesthetically, they do not need to be ‘photo shoot’ quality and 2) by file-size standards, they can be small, low-resolution images.
What do these two things mean to you? Not needing to hire models, hire a dedicated professional photographer and buy props will save you thousands. Thousands you probably wouldn’t want to spend anyway. And by being able to save your images at a small file size, lower resolution of 72dpi (dots per inch), allows you lots of flexibility. But again, what does that all mean? It means that you can practice, practice, practice on your low-cost digital camera, smart phone and scanner then quick and easily post them to your website and blog.
How to pick an image?
To choose an image, you really just need to tie the writing and the topic together. I do that by closing my eyes, thinking ‘big idea’ and seeing what comes to mind. A 30 second brainstorm. It usually works and my first impressions are usually the best ones.
Simple doodles, scanned on a low-cost scanner, and household items, taken with a digital camera, make great fodder for blogging images. Here are some examples based on topic:
- Confusion, use a quickly drawn question mark and scan it
- Buy Local, take a quick shot of your dad or uncle farming
- Strategy, take a quick shot of Monopoly, or your favorite boardgame pieces
- Sustainability, take a picture of your recycling by the curb
- Planning, scribble out a ‘flow chart’ on a scrap of paper and scan it
See! That wasn’t so hard, was it? Keep it simple. That’s what works for blogs. Just tie it in to your topic and you’re all set.
Then what?
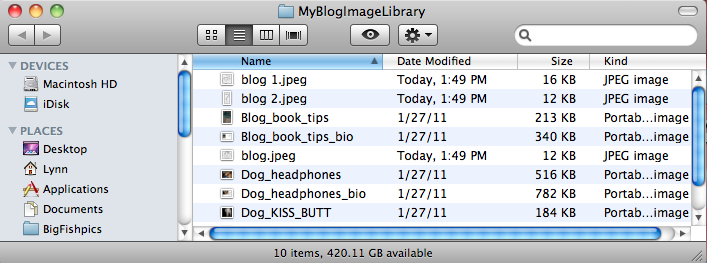
After you have your images, you can save them at 72dpi, which is usually a default setting on your camera (lowest quality). I suggest for the first few months of blogging you take lots of pictures and label them with keyword(s). Put them in a folder labeled for images that you created (and own).
Pay attention to events you may attend for that perfect photo opportunity. For added impact, give your camera to friend and have them take some pictures of you, the author. Little by little, you’ll perfect your skills and build that perfect blogger’s library.
Next week. Finding free and legal images –online.
Social Energizer’s purpose is to help companies develop lasting relationships with their customers and increase their conversion rates by adding proven online marketing techniques to their marketing mix.
We do this by integrating inbound marketing techniques into each business’ current marketing plan and by utilizing digital channels and strategies like Blogs, Twitter, Facebook, LinkedIn, Search Engine Optimization, and Web-integrated Email Campaigns.
We invite you to comment and rate each blog, so we can ever improve our offerings to you.

